Day 3
Wednesday 21st August 2024
Stone Lithography – Working Solo
After two days of 1-to-1 tuition, the third day is a real test. I’m on my own.
Was I paying attention? Did I take good notes? Will I produce anything over the next six hours?
One of the remarkable things about working at the Curwen, is that you are surrounded by the work of other artists. Its long history has meant artists of International standing have passed through its doors and left behind a wonderful archive of works. Whilst waiting for the kettle to boil, I had a little wander and two large Litho stones caught my eye.
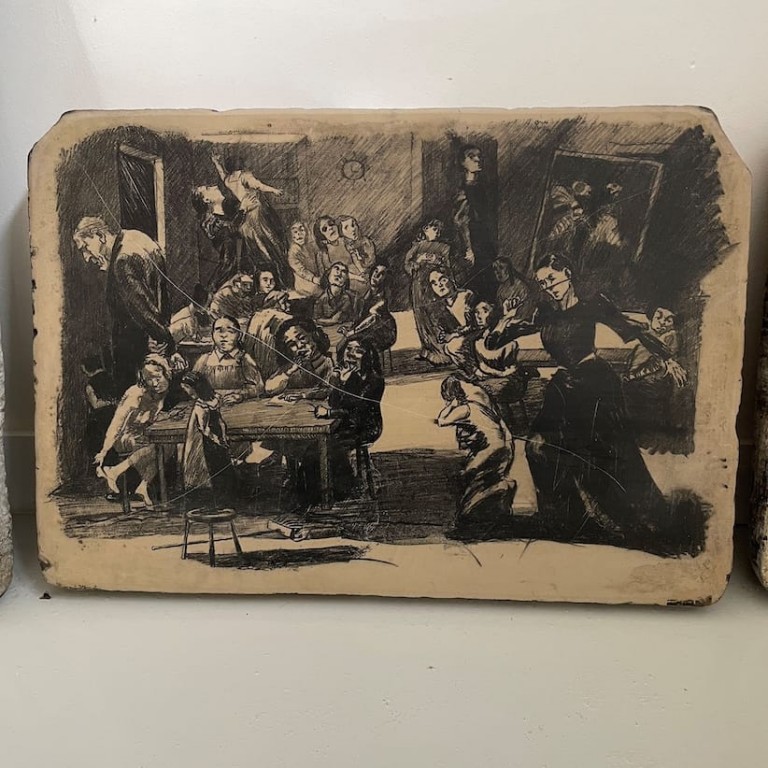
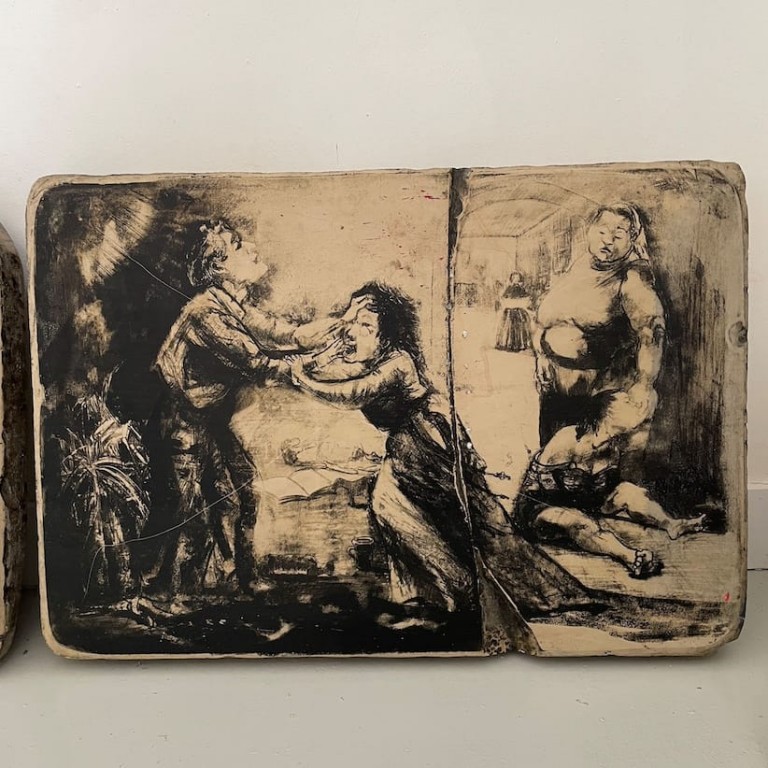
Could they really be what I thought they were? Was I really looking at two litho stones with works by Paula Rego? The answer was yes! Those of you that know me, will know that I regard Paula Rego as one of, if not the greatest contemporary figurative artists, combining both remarkable skill but also, importantly, substance.
Read my review of her major retrospective at Tate Britain in 2021.
With Paula Rego as my inspiration, I got started.
Today’s Challenge
Challenge 1
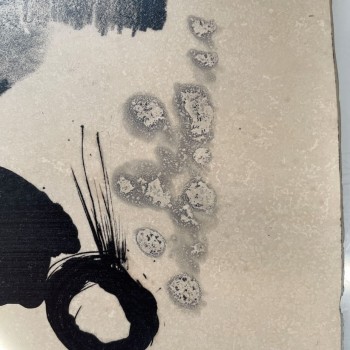
Having applied a waxy ink wash (a tusche) to the mark making stone, I wanted to see how it printed. Tusche washes, with subtle gradations of tone, are one of the defining features of stone lithography printing, so quite important to, if not master, at least have some success with.
The challenge did not start well as, despite looking at my notes (which were correct), I missed out the applying white spirit and applying asphaltum steps and went straight to the wiping with water stage, thereby removing the layer of gumarabic. So….back to square one, reapplying gumarabic and waiting at least an hour for it to dry.
Challenge 2
The previous night I had left the stone with ‘Our Lady of pain’ photo transfer with its second etch (i.e. with a coating of gumarabic and nitric acid). Most stone litho prints have a second etch before a final print is taken from it. It makes the printed image more faithful to the stone image. My results weren’t quite as good as hoped for.
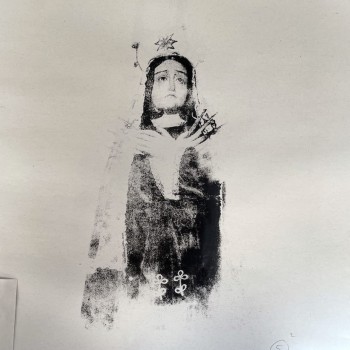
The fifth press of the second etch is shown and a few observations can be made. It still has the same distressed look as those prints taken from the first etch and there is no more detail coming through. Was the photo transfer not done properly? Is the ink applied too thinly? Why has the second etch not apparently made a difference?
I haven’t the answer to these questions.
Therefore decided to try another photo transfer + added a tusche wash to see what it would print like tomorrow in comparison.
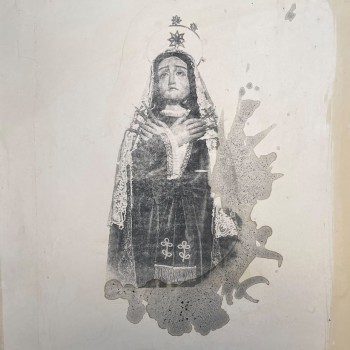
The image transferred to the stone better with the acetone compared with the first attempt, although still with some variation/parts missing (such as the halo). Leaving it to dry for a couple of hours before ‘putting it to bed’.
Challenge 1 – second attempt
This time prepped the stone ready for printing with all the correct steps. Disconcertingly, the tusche wash seems very feint indeed.
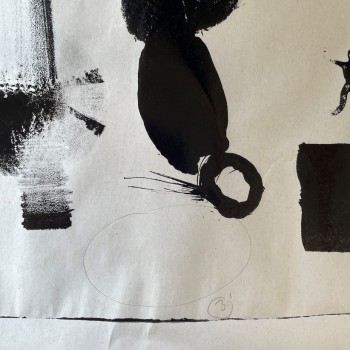
Absolutely not was I was hoping for. The tusche wash has disappeared and there is no hint of it on the print. There is plenty of ink on the roller as can be seen from the very dark other marks, but the space where the tusche wash should be, shows nothing. After four prints with no result, I cut my losses and decided to grind the stone down in order to start afresh tomorrow (two gym workouts in three days!)
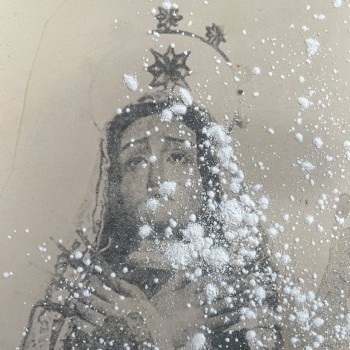
Finished the day by putting ‘Our Lady of Pain’ to bed.
What I have learned
Paula Rego’s prints are technical marvels. The stone lithography process is not a simple process of just create an image, ink up and print. But therein lies its beauty too. The chemistry behind the art is an art in itself and that’s part of the challenge and ultimately part of the achievement.
I write this not knowing whether by day ten I will have experienced success or been initially defeated.