Day 2
Tuesday 20th August 2024
Stone Lithography – Making my first print
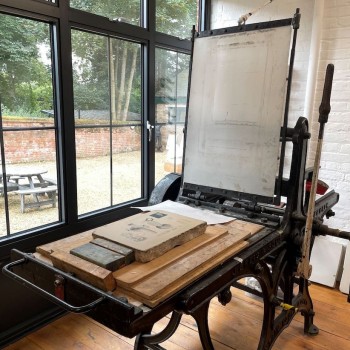
My expectations are high. I walk into the studio to see my stone resting on the press and ready to be worked on. The sun is shining!
However it soon became apparent that getting a print off the stone is not simply a case of running the stone through the press. With stone lithography there appears to be quite a bit of applying a surface/chemical, only to then remove it, akin to say cooking where you’d sprinkle on the spices only to then remove them! – I’m still not sure of the chemistry behind this. But it is necessary.
Step 1
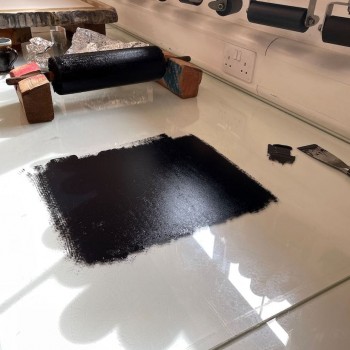
Get the ink ready, by rolling it out.
Steps 2 & 3
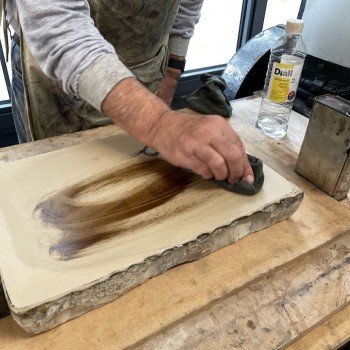
Wipe the surface with white spirit. This lifts the ink from the stone – a moment of minor panic as the mark making all but disappears.
Rub the surface with Asphaltum (shown), this puts grease onto the stone including back into the mark making.
Step 4

Wipe the asphaltum off the stone with water. The greasy asphatum comes off the stone along with the gumarabic, but importantly it stays in the images.
The greasy images/marks are then receptive to ink.
Step 5
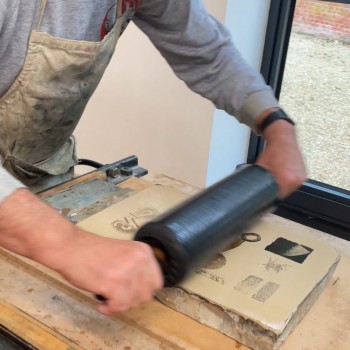
Ink up the stone with the roller. This is done several times, each time ensuring the stone is wet.
This is the basics of stone lithography. The untreated stone is wet and therefore the ink doesn’t stick to it. The images are greasy, thereby repelling the water and hence take the ink.
Step 6
Paper is placed on the stone and it is passed through the press (ensuring the pressure is adjusted to the thickness of the stone being used).
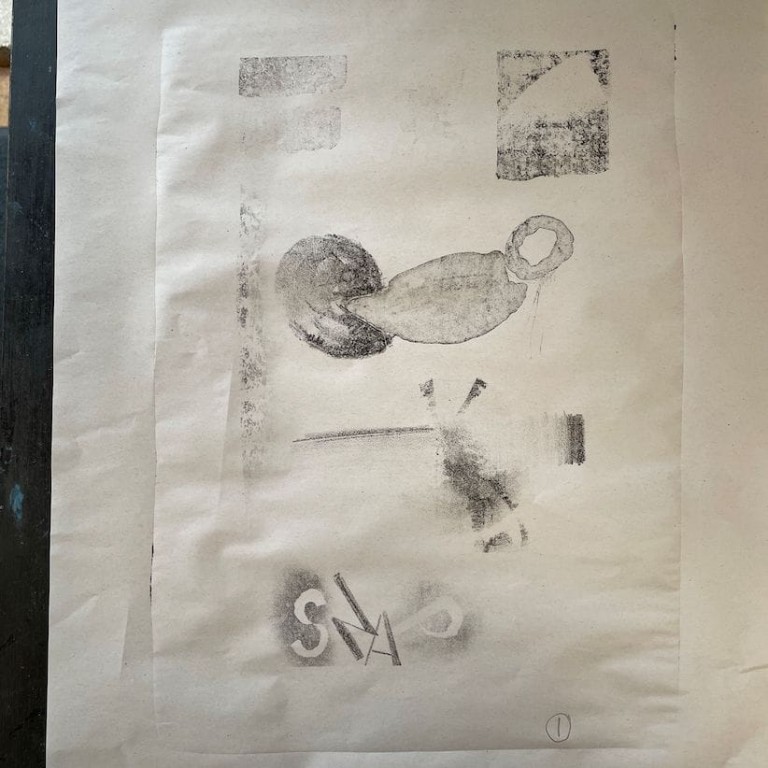
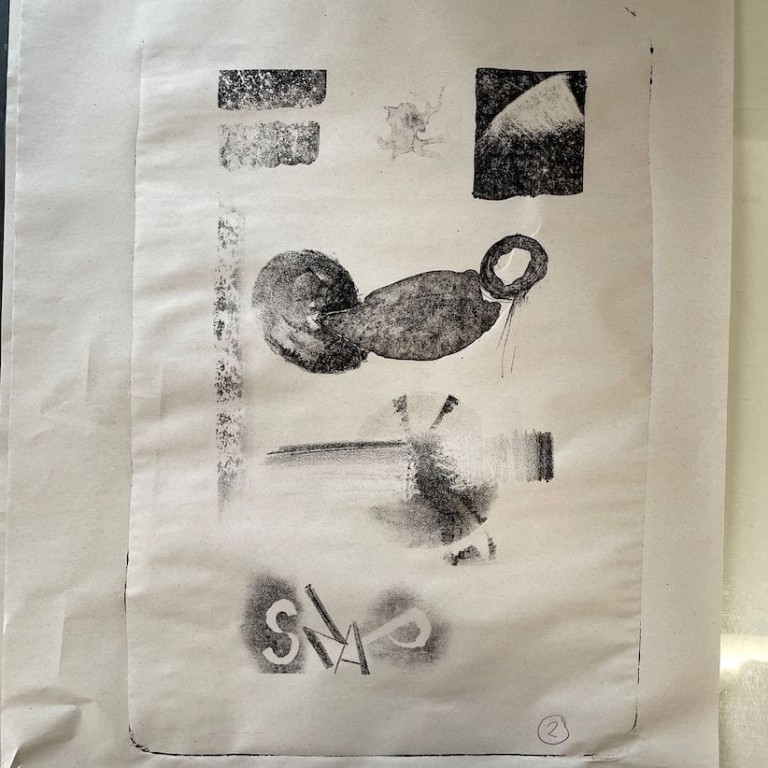
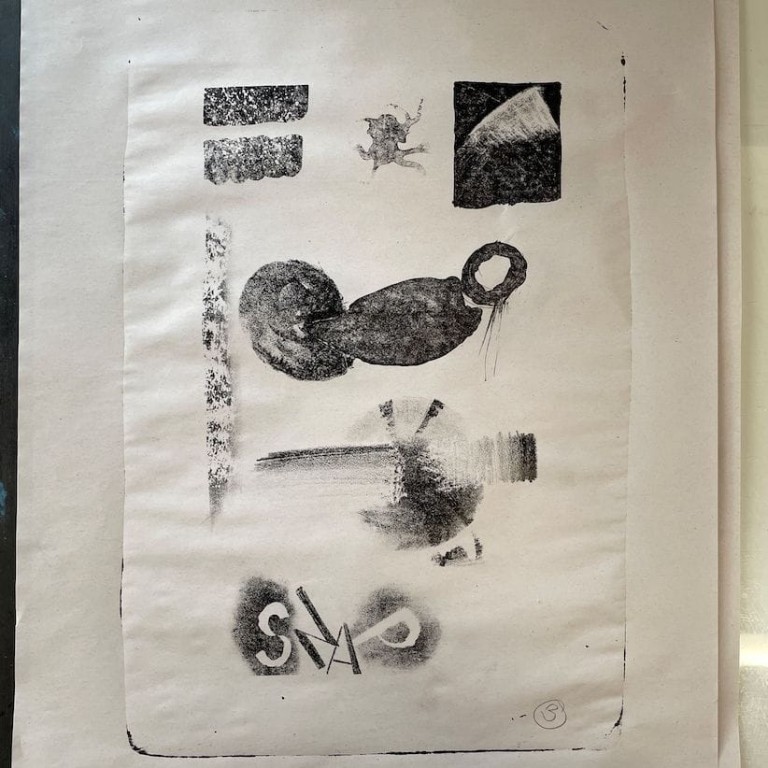
The images above show the first three prints. After print 1, the stone needs to be inked again (i.e repeat step 5) to produce print 2 and then again to produce print 3. As can be seen images darken and more detail appears. Continue the process until happy with the results.
Experimenting with image transfer
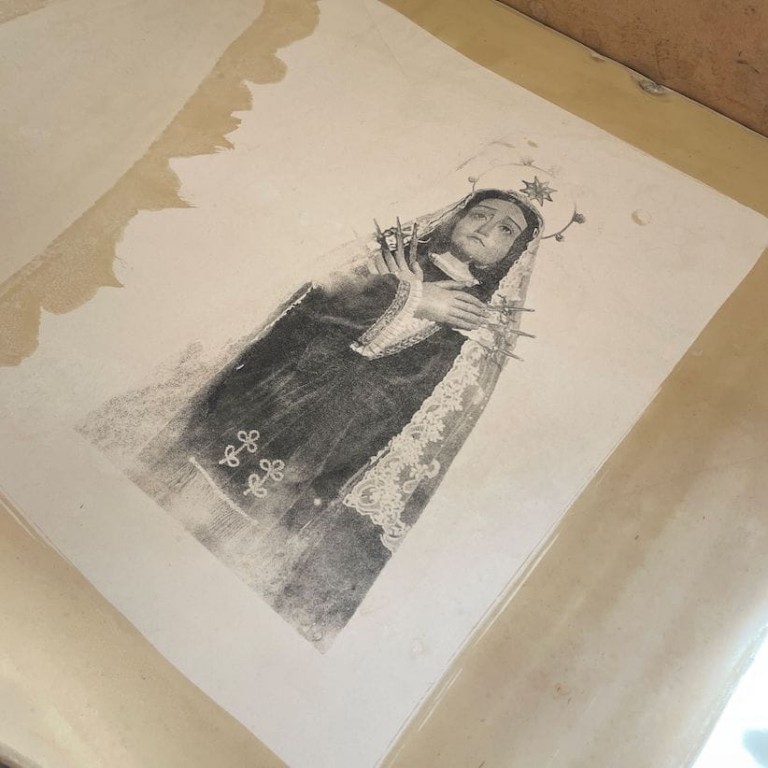
‘Our Lady of Pain’ a photograph I took of a poster of a Catholic Festival in the Algarve, Portugal. Printed onto paper using a laserjet printer or photocopier (not inkjet).
The ink particles are transferred to the stone using acetone and then passing it through the press.
Steps 1 – 5 above are repeated on this image to produce prints.
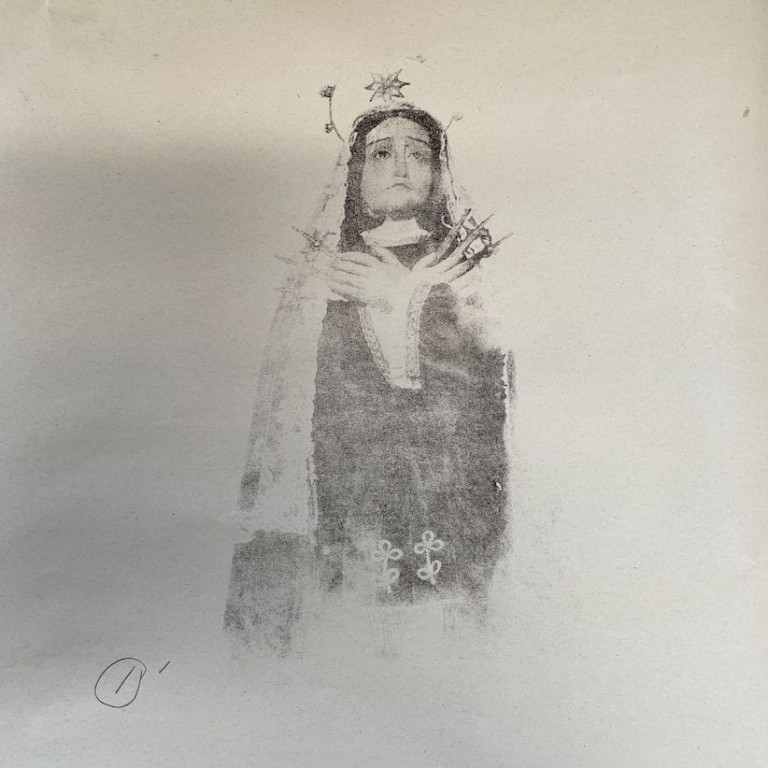
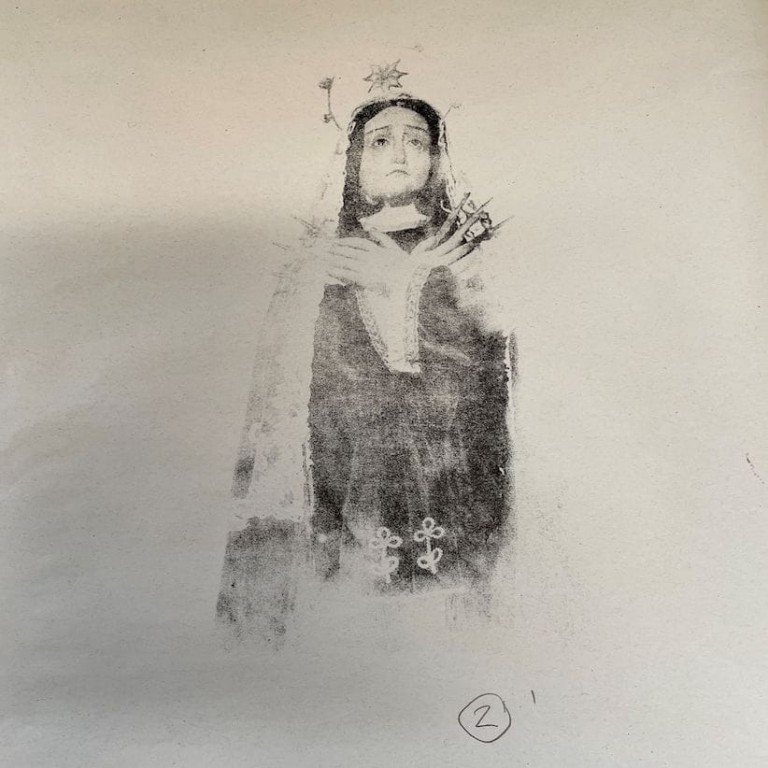
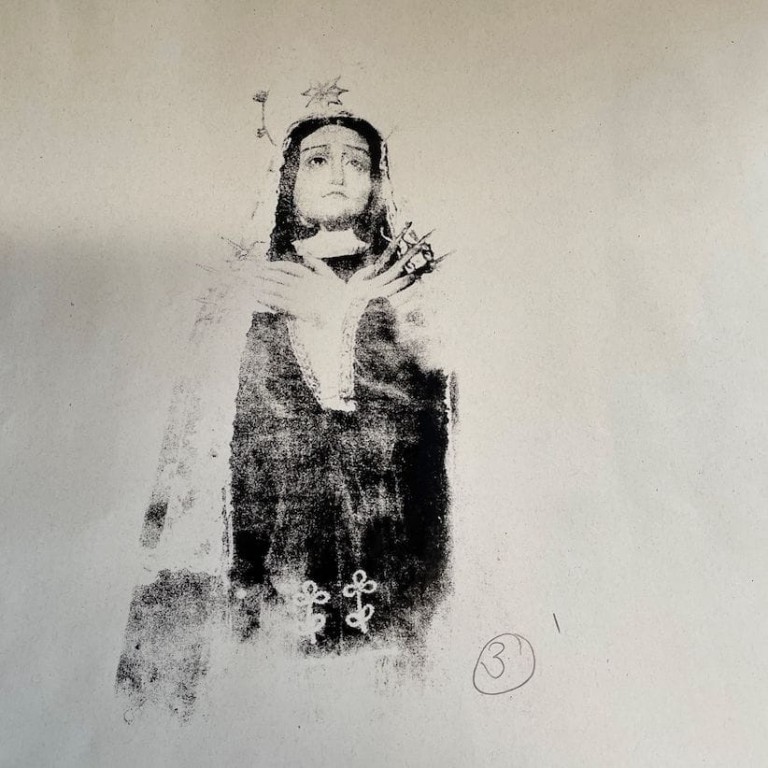
The first three presses are shown getting darker with more detail. However, I’m not sure why it has a distressed look. The inking is patchy. Is that as a result of the transfer process, the ink application or the fact that it’s only taken from the first etch – I haven’t the answer at this stage, but I like the aesthetic of this.
This was my last day of 1-to–1 tuition this week with Paul. It’s been great.
The process still has a lot of mysteries and no doubt some of what I think I’ve understood, I won’t have and this will be put to the test tomorrow, as tomorrow I’m working on my own!!