Day 1
Monday 19th August 2024
The Curwen Print Study Centre
Pulling up in the car park to be greeted with this wonderful sight…
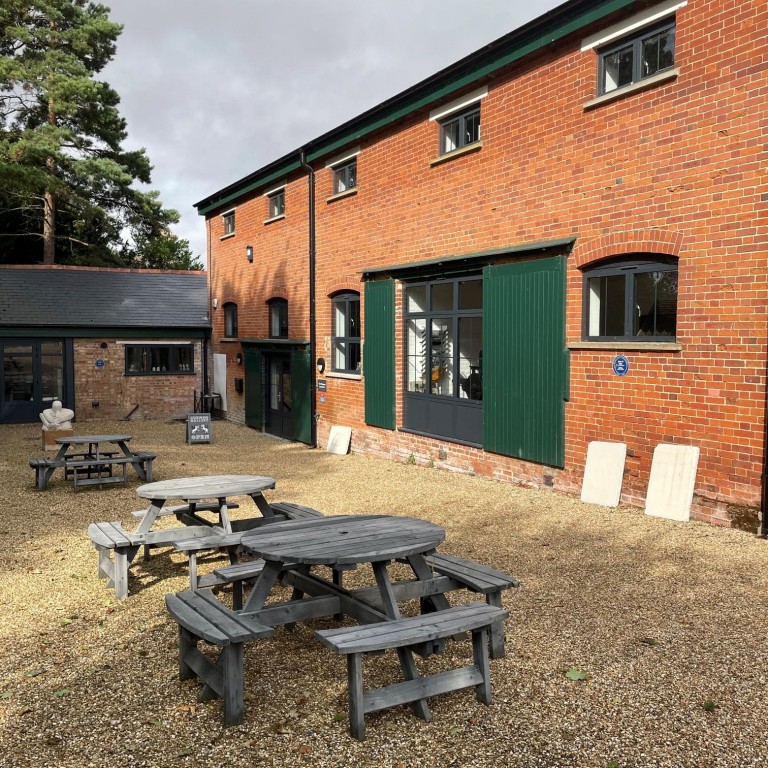
A barn converted into a printmaker’s paradise.
Six hours with 1-to-1 tuition, what more could a person want?
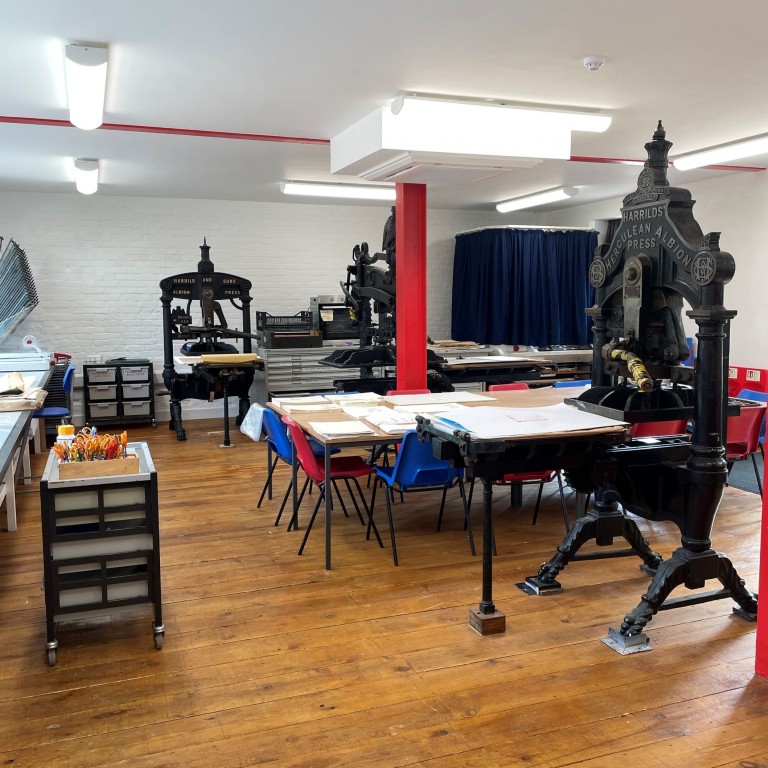
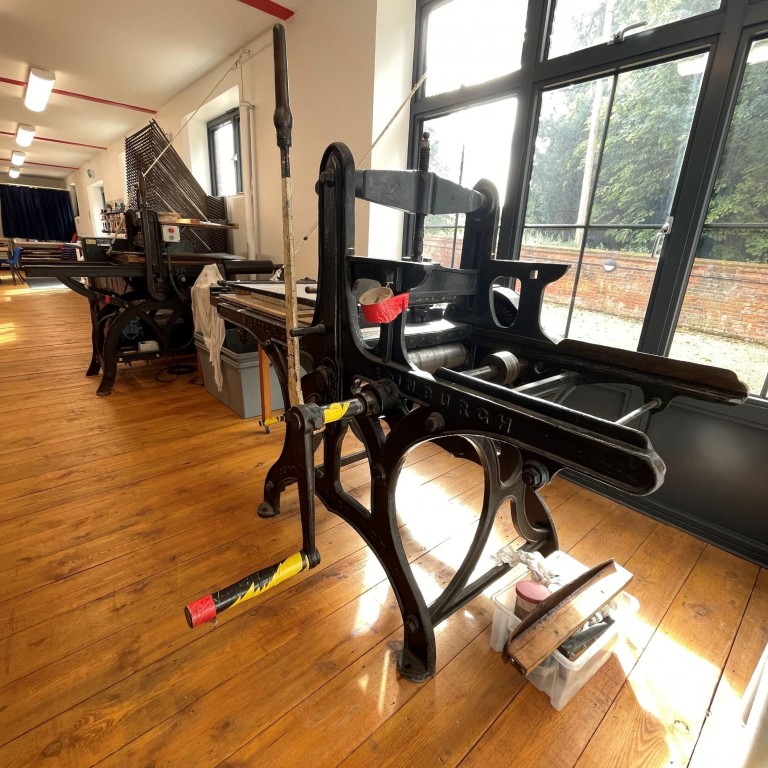
Stone Lithography – the beginning
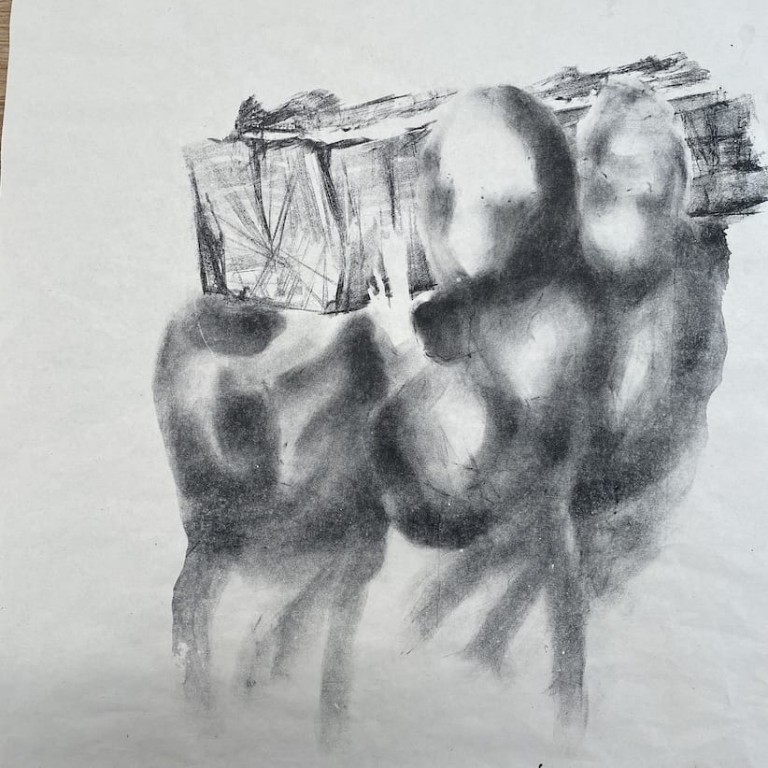
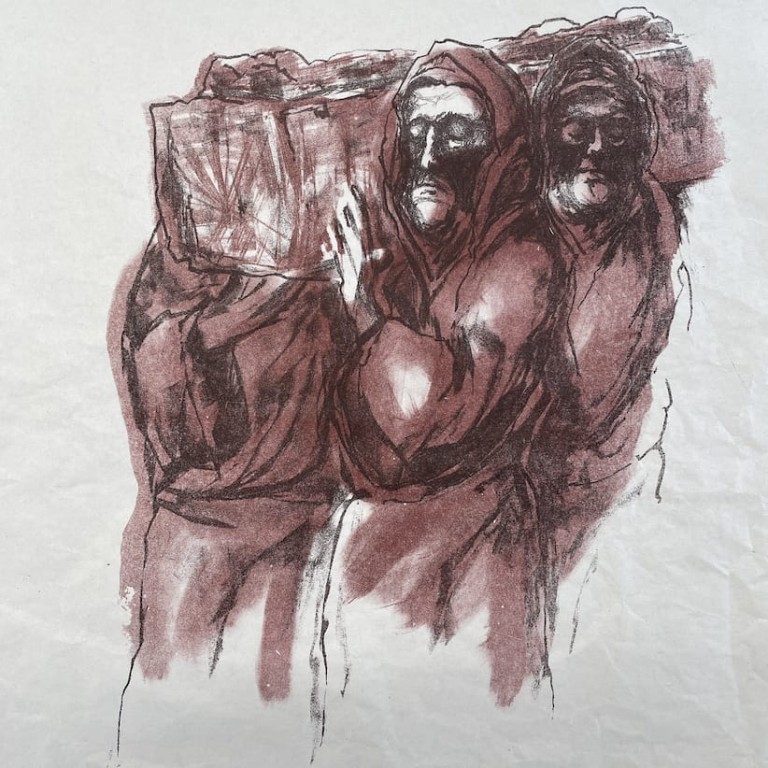
Paul described a variety of different drawing and ink effects possible from a selection from his portfolio of stone litho prints.
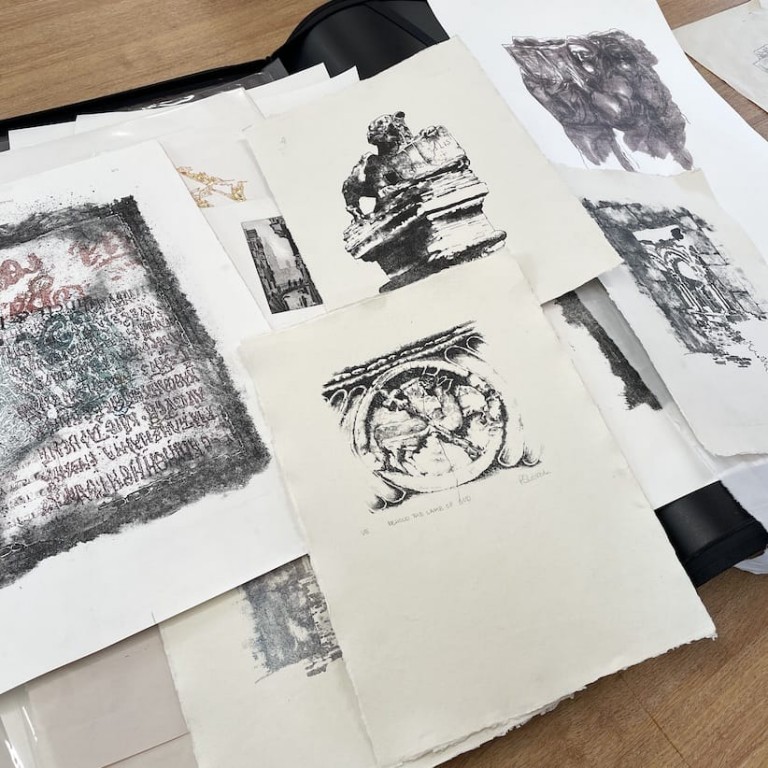
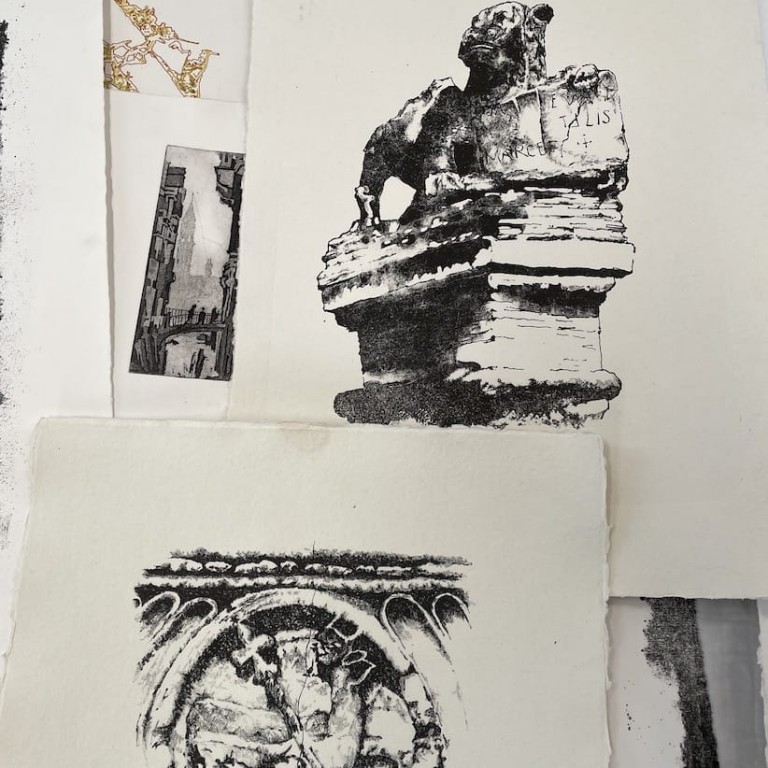
The following three were particularly interesting as they show how two separate images are combined to make the final two colour image.

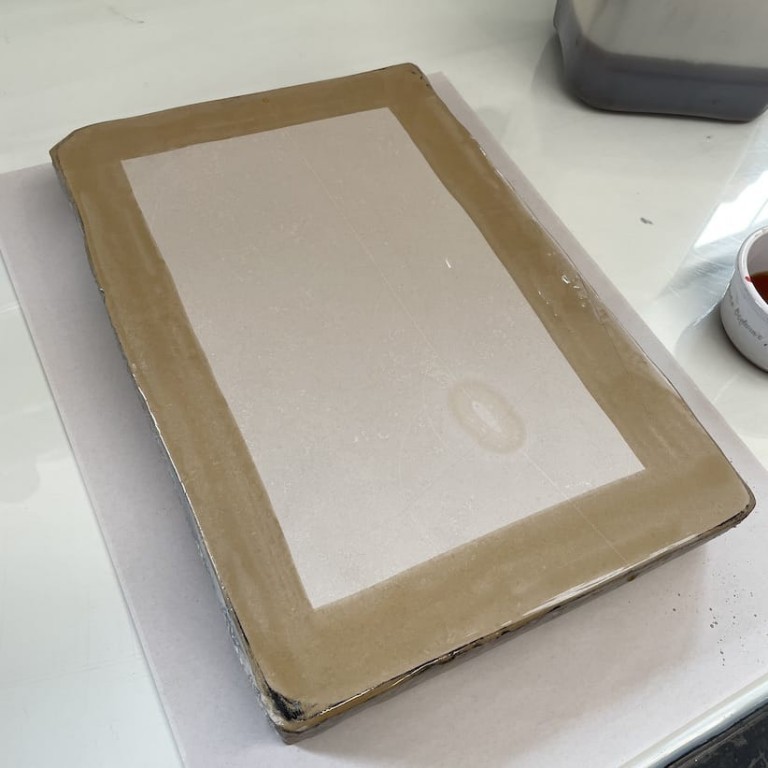
The Stone
A pre-prepared stone, with a gumarabic border.
The gumarabic acts as a barrier and any marks made on it won’t take to the stone.
Whilst the gumarabic dried we prepped a second stone to learn the how to grind it flat.
At this point it has to be said that a gym membership can be dispensed with if I’m going to be grinding stones on a regular basis. It’s a great cardio workout!
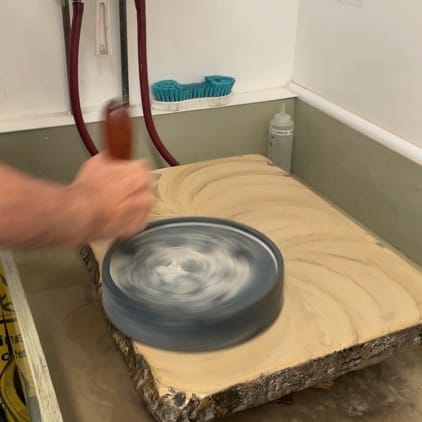
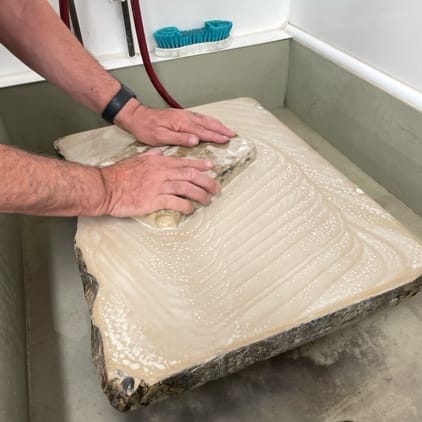
Grinding using coarse grit is done by moving a levigator in a circular motion over the slab. The levigator weighs in the region of 10 kg and keeping it rotating smoothly over the stone is something that I’m not convinced I mastered. My right arm is now twice the size of my left one. Fortunately moving on to the next stages of medium and fine grit grinding could be done by rubbing a second flat stone on top of my existing one.
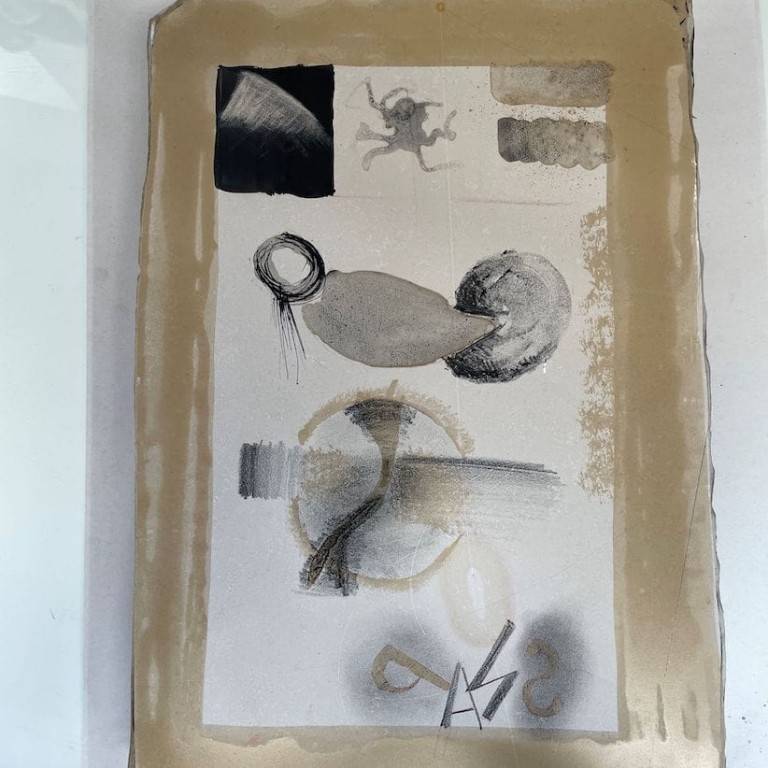
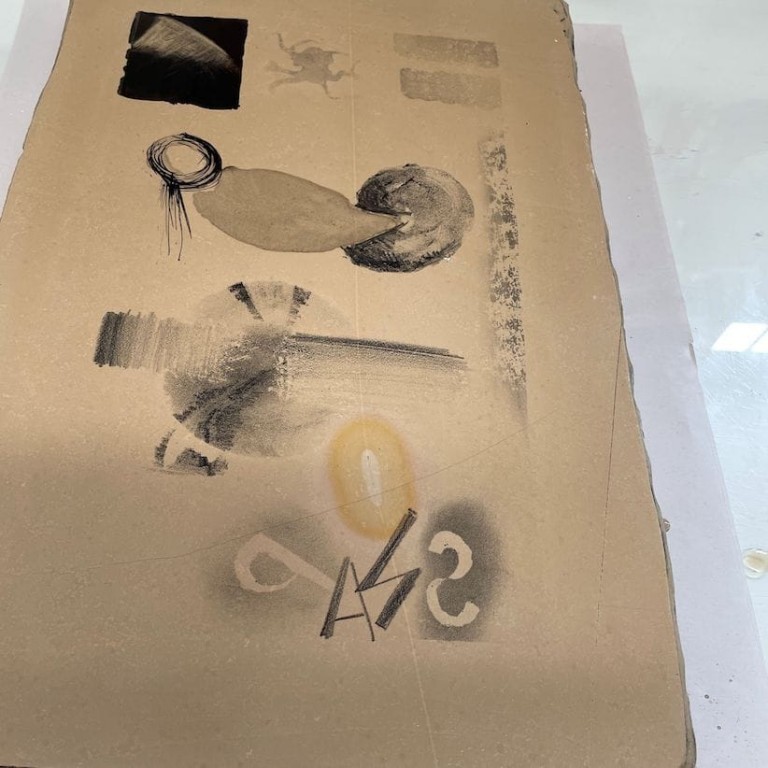
Whilst it dried, it was time to experiment with different mark making on the pre-prepped stone. The inks, crayons and pencils all have a high grease content; an essential property for stone lithography.
Different grades of hardness, different washes and inks.
Trying a bit of text (remembering to write backwards) and a method of scratching back.
But it’s still not ready to print, that’s for tomorrow, so the next step is to ‘put it to bed’.
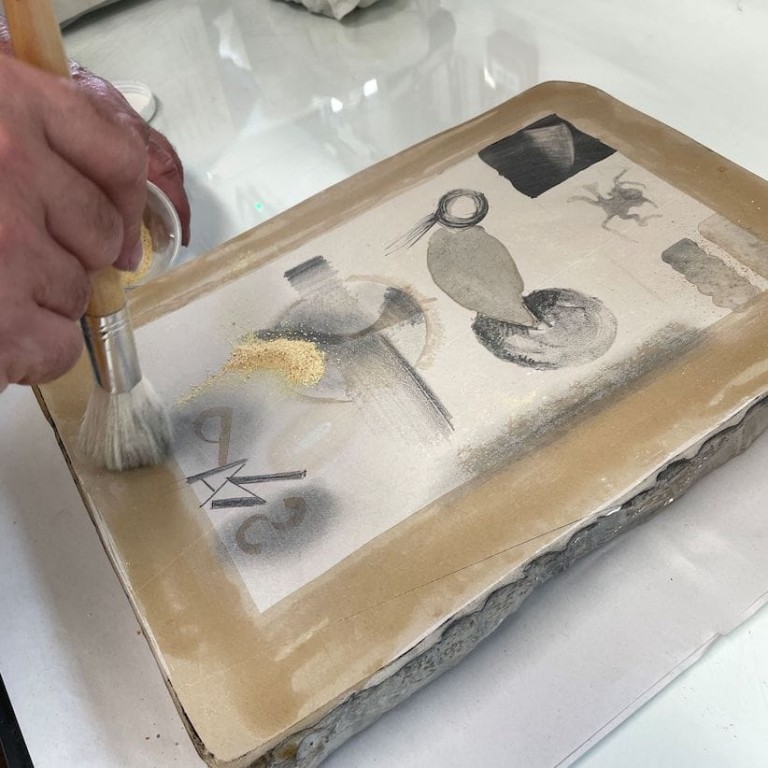
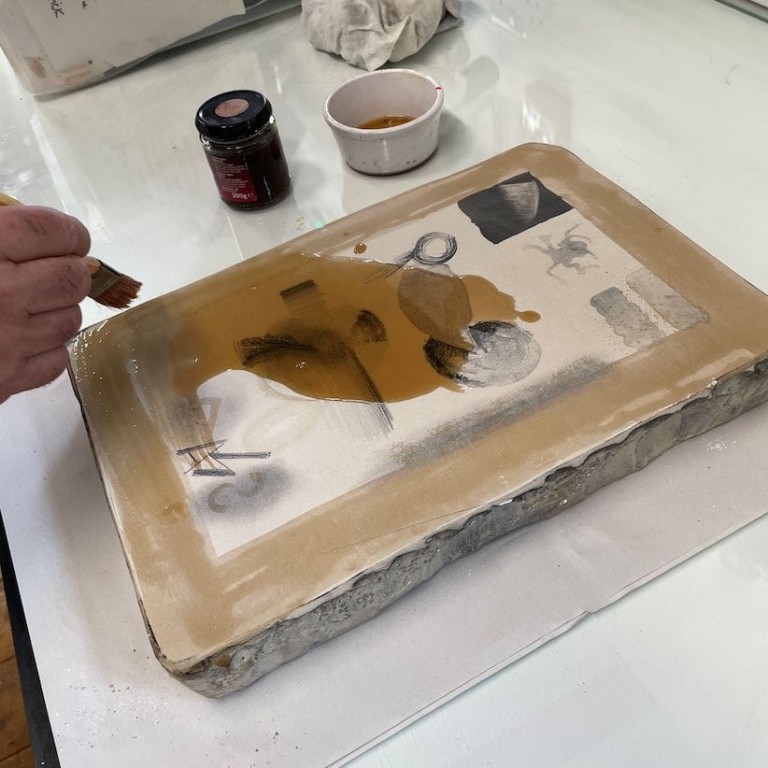
Powdered resin brushed over the stone, followed by powdered French chalk. A solution of gumarabic mixed with nitric acid is poured onto the stone and brushed into it and then buffed up. These processes stabilise the ink and protect the raw surface of the stone.
The finished slab can now be ‘put to bed’.